Table of Contents
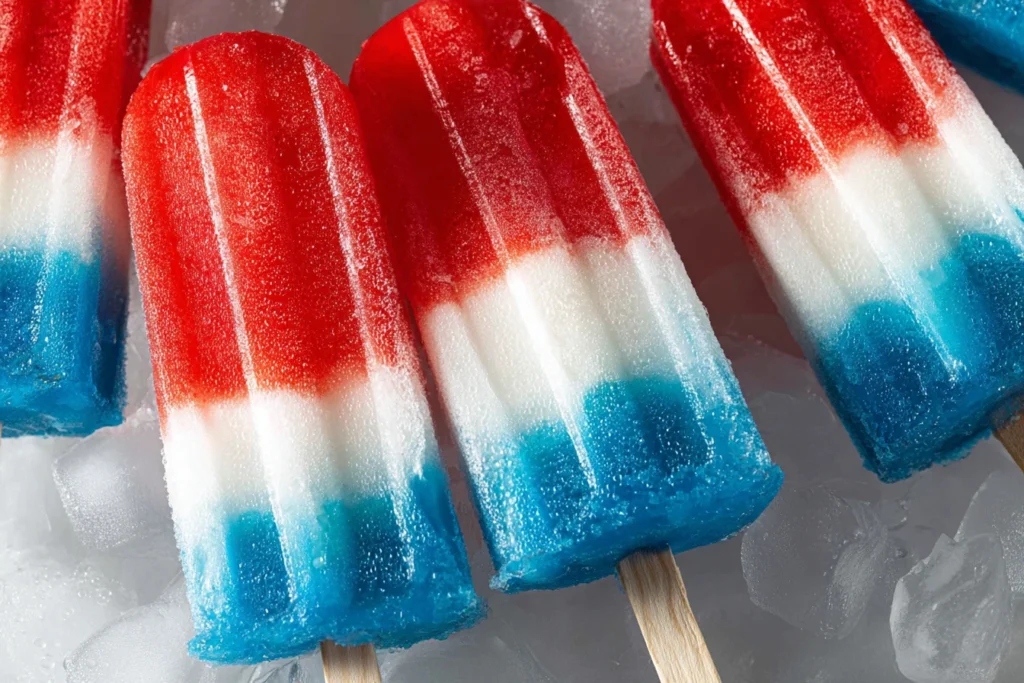
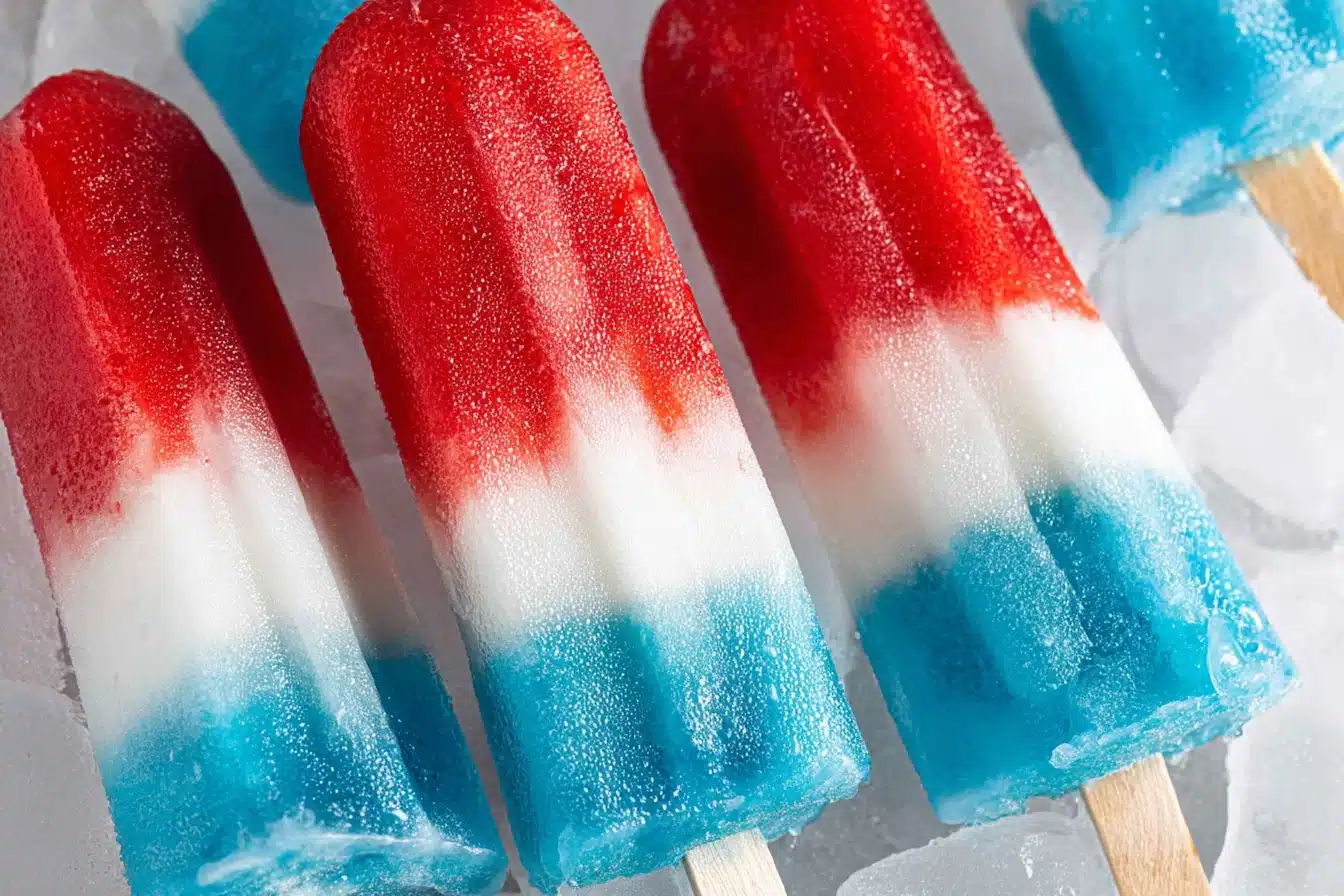
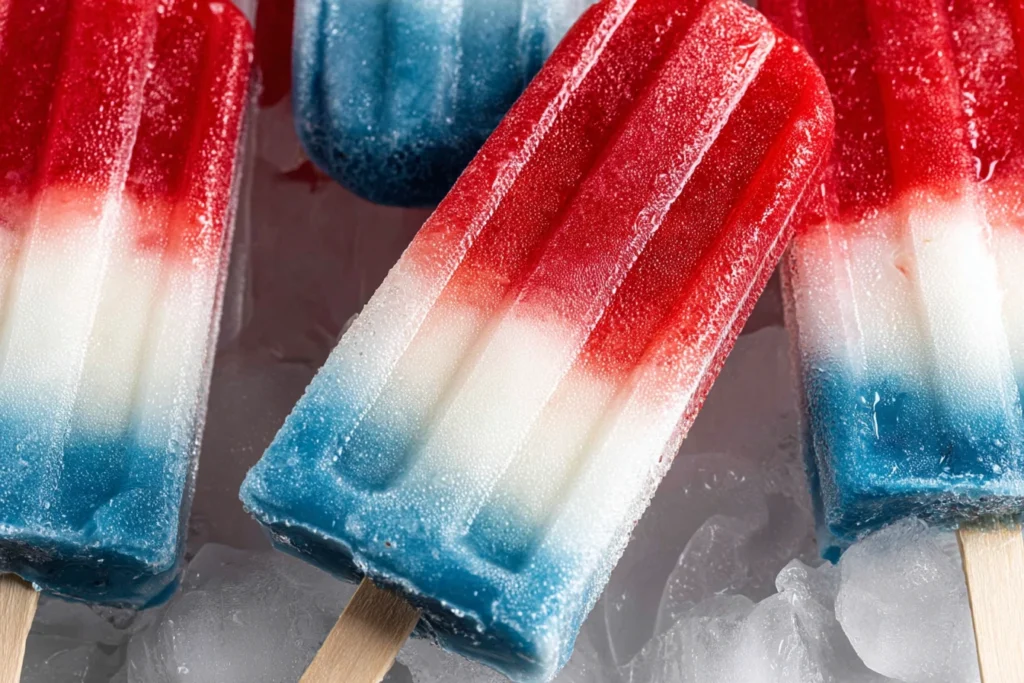
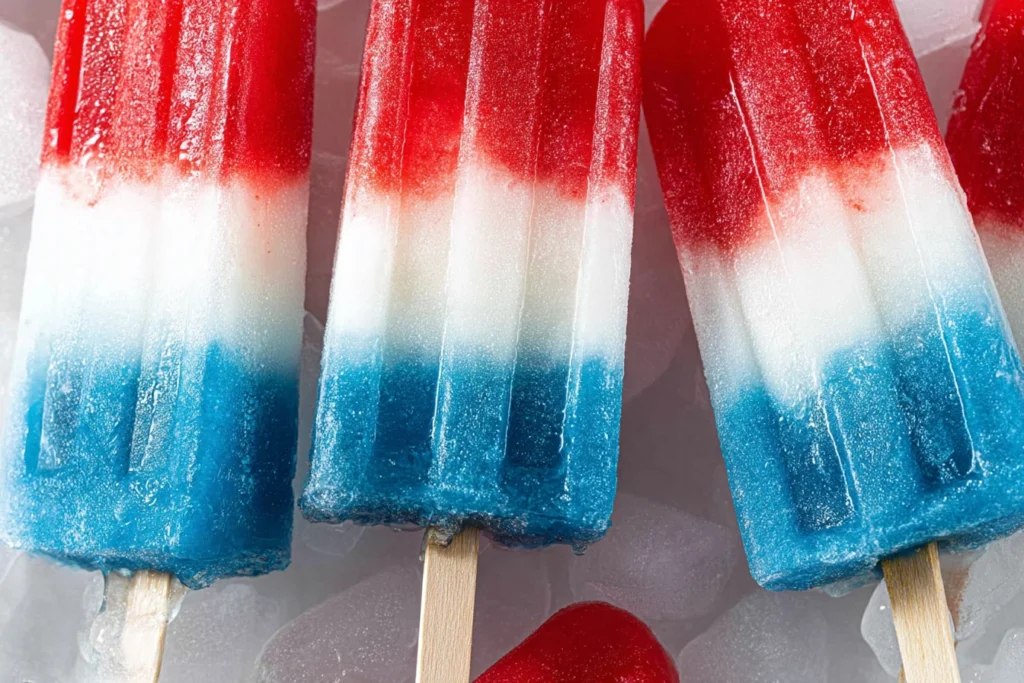
There’s no dessert more satisfying on a sweltering summer day than a popsicle. And when the Fourth of July rolls around, you better believe those popsicles need to come dressed for the occasion. That’s where red, white, and blue popsicles come in. Fruity, frozen, and eye-catching, these layered treats are everything a patriotic dessert should be—easy to make, fun to eat, and totally refreshing.
These aren’t your average store-bought freezer pops full of dyes and mystery ingredients. These are homemade with real fruit, creamy yogurt, and natural sweetness. Think layers of fresh strawberries, smooth vanilla yogurt, and vibrant blueberries—blended, frozen, and stacked into a dessert that looks like a firecracker and tastes even better.
Whether you’re hosting a backyard barbecue, packing a cooler for the fireworks, or just want to cool off after a day in the sun, these popsicles are the answer. They’re kid-approved, parent-friendly, and customizable for any dietary need. Plus, they look like you put in way more effort than you actually did—which is the kind of win we all need on a holiday weekend.
Why You’ll Love These Red White and Blue Popsicles
- Naturally sweet: Made with real fruit and no artificial dyes.
- Festive and fun: Bold, patriotic colors perfect for July 4th.
- Cool and refreshing: Great for hot weather and outdoor celebrations.
- Customizable: Dairy-free, vegan, or sugar-free options are easy to make.
- No fancy equipment needed: Just a blender and a popsicle mold.
Ingredients
Makes about 8 standard-size popsicles.
Red Layer
- 1 cup fresh or frozen strawberries (hulled)
- 1 tablespoon honey or maple syrup (optional)
- 1 tablespoon lemon juice
- 1–2 tablespoons water, if needed for blending
White Layer
- 1 cup vanilla yogurt (Greek or regular, or plant-based)
- 1–2 teaspoons honey or sugar (optional, depending on yogurt)
Blue Layer
- 1 cup fresh or frozen blueberries
- 1 tablespoon lemon juice
- 1 tablespoon honey or syrup (optional)
- Water as needed to blend
Tools
- Popsicle molds (or small paper cups)
- Popsicle sticks
- Blender or food processor
Instructions/Method
Step 1: Blend Each Layer Separately
- Red Layer:
Blend strawberries, lemon juice, and sweetener until smooth. Add water if needed to thin. Set aside. - White Layer:
Stir or lightly blend yogurt with optional sweetener. Keep thick for clean layers. - Blue Layer:
Blend blueberries with lemon juice and sweetener. Add a splash of water if needed.
Step 2: Layer the Popsicles
- Pour red mixture into molds—fill about ⅓ of each.
- Freeze for 20–30 minutes until slightly firm (not fully frozen).
- Pour in yogurt layer—another ⅓ of the way. Freeze again for 20–30 minutes.
- Add the blue layer to fill molds to the top.
- Insert sticks and freeze fully for at least 4–6 hours, preferably overnight.
Step 3: Release and Serve
- To release, run warm water over the outside of the mold for a few seconds.
- Gently wiggle out and serve immediately.
Tips & Variations
Tips
- Freeze between layers to get clean, distinct color stripes.
- Use a spoon or funnel for precise layering and less mess.
- Avoid too much water in fruit layers—thicker blends hold color better.
- Add sticks after the second layer or once slightly firm for better stability.
Variations
- Dairy-free: Use coconut or almond milk yogurt for the white layer.
- Sugar-free: Rely solely on the fruit’s natural sweetness.
- Creamy red & blue layers: Add banana or yogurt to fruit blends for a smoothie-like texture.
- Stars & Stripes version: Use molds with patriotic shapes or embed fruit stars inside.
Note
Frozen fruit can be used in place of fresh—just thaw slightly to blend easily.
Serving Suggestions
- Serve on ice trays for outdoor parties or cookouts.
- Pair with lemonade or fruit-infused water for a full refreshment station.
- Hand out during fireworks for a cold treat with a view.
- Wrap in wax paper or parchment with twine for a rustic presentation.
Nutrition Information
Per popsicle (approximate):
- Calories: 60–80
- Sugar: 8–12g (mostly natural)
- Fat: 0–2g
- Protein: 1–3g (varies by yogurt used)
- Fiber: 1–2g
Make them even lighter by using unsweetened yogurt and fruit-only blends.
User Reviews/Comments
“My kids thought they were store-bought—they looked that good.” – Rachel D., California
“Super refreshing and not too sweet. Perfect for the heat.” – Omar F., Florida
“We made them with coconut yogurt—so creamy and amazing.” – Priya M., New Jersey
“The color layers actually worked! Freezing between was key.” – Greg S., Texas
“Easy, fun, and perfect for making the day before our BBQ.” – Jamie L., Michigan
FAQs
Q: Can I make these without a popsicle mold?
Yes! Use small paper cups and insert popsicle sticks after the second layer is slightly frozen.
Q: Can I use frozen fruit instead of fresh?
Absolutely. Just thaw slightly for easier blending and smoother texture.
Q: Do I have to freeze between layers?
Yes, for distinct layers. If you don’t mind swirling or blending colors, you can skip this step.
Q: How long do they last in the freezer?
Up to 2–3 weeks in an airtight container or tightly wrapped. Best texture within the first week.
Q: Can I add whole fruit pieces?
Yes! Drop whole blueberries or sliced strawberries into each mold before freezing for texture and visual flair.
Conclusion
These red, white, and blue popsicles are everything you want in a Fourth of July dessert—bright, beautiful, and cold as hell. They’re festive without being fussy, easy enough for a weeknight, and tasty enough to impress any guest. Whether you’re trying to beat the heat, entertain kids, or just bring something eye-catching to the table, these pops hit the mark.
So grab your blender, pick your favorite fruits, and make some frozen magic happen. They’re cold, they’re colorful, and they’re just what the 4th of July ordered.
Want to learn more about the history of popsicles? Check out this Wikipedia article on ice pops.
Print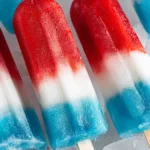
Red White and Blue Popsicles for 4th of July
Ingredients
Red Layer
-
1 cup fresh or frozen strawberries (hulled)
-
1 tablespoon honey or maple syrup (optional)
-
1 tablespoon lemon juice
-
1–2 tablespoons water, if needed for blending
White Layer
-
1 cup vanilla yogurt (Greek or regular, or plant-based)
-
1–2 teaspoons honey or sugar (optional, depending on yogurt)
Blue Layer
-
1 cup fresh or frozen blueberries
-
1 tablespoon lemon juice
-
1 tablespoon honey or syrup (optional)
-
Water as needed to blend
Tools
-
Popsicle molds (or small paper cups)
-
Popsicle sticks
-
Blender or food processor
Instructions
Step 1: Blend Each Layer Separately
-
Red Layer:
Blend strawberries, lemon juice, and sweetener until smooth. Add water if needed to thin. Set aside. -
White Layer:
Stir or lightly blend yogurt with optional sweetener. Keep thick for clean layers. -
Blue Layer:
Blend blueberries with lemon juice and sweetener. Add a splash of water if needed.
Step 2: Layer the Popsicles
-
Pour red mixture into molds—fill about ⅓ of each.
-
Freeze for 20–30 minutes until slightly firm (not fully frozen).
-
Pour in yogurt layer—another ⅓ of the way. Freeze again for 20–30 minutes.
-
Add the blue layer to fill molds to the top.
-
Insert sticks and freeze fully for at least 4–6 hours, preferably overnight.
Step 3: Release and Serve
-
To release, run warm water over the outside of the mold for a few seconds.
-
Gently wiggle out and serve immediately.
Notes
Frozen fruit can be used in place of fresh—just thaw slightly to blend easily.