Table of Contents
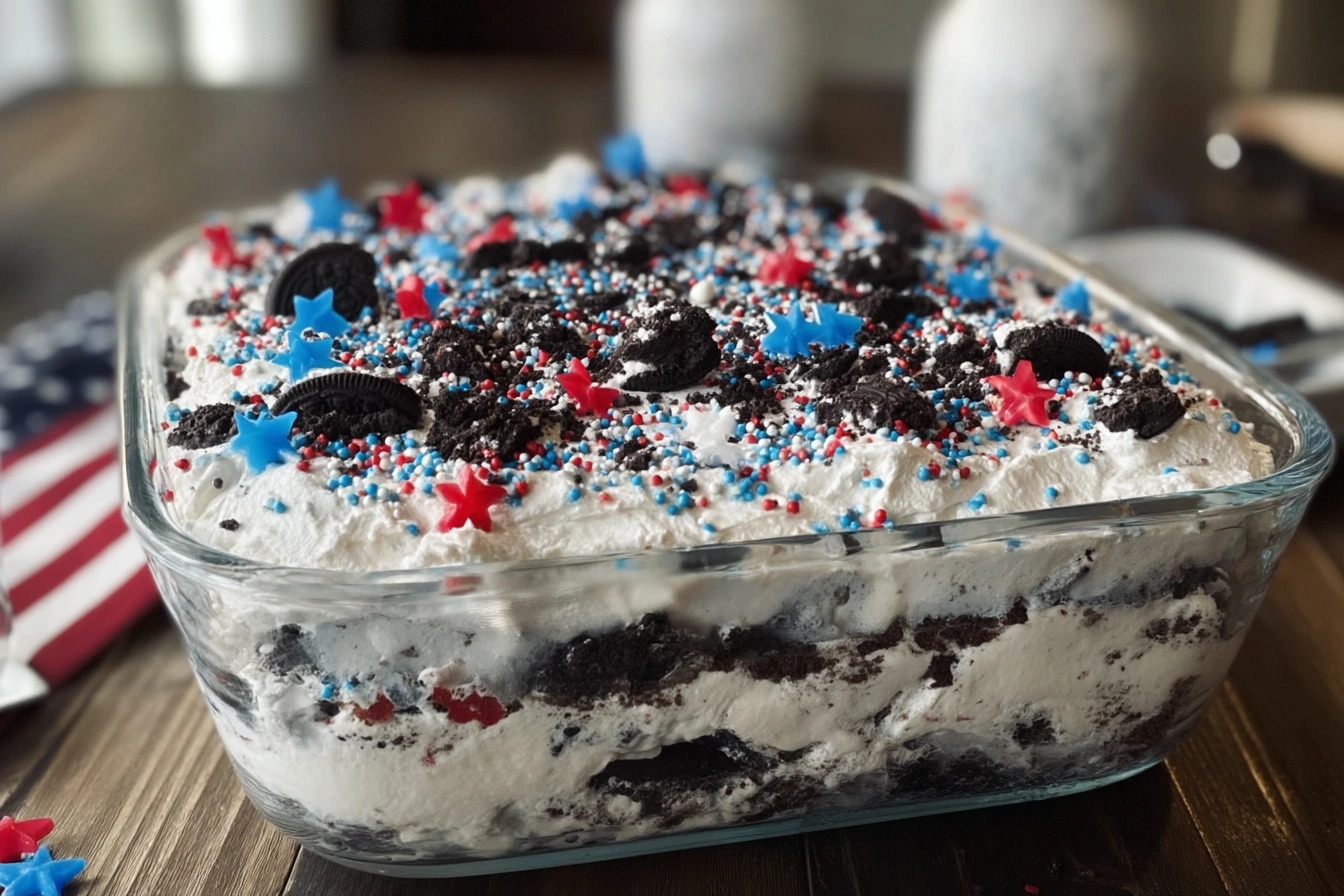
Let’s be honest—when the 4th of July rolls around, the last thing you want is to be sweating over a hot oven. That’s why no bake desserts are the true heroes of summer parties. Enter the No Bake Fireworks Oreo Cheesecake Bars: bold, festive, creamy-as-hell bars that practically scream “USA!” These babies don’t just look like fireworks—they explode with flavor, crunch, and creamy cheesecake magic in every bite.
Forget complicated techniques or long prep times. These bars are simple, fun, and ideal for making ahead. They start with a Fireworks Oreo cookie crust—yes, the ones with popping candy in them. Then come the layers: a silky, no bake cheesecake filling spiked with vanilla and whipped cream, followed by colorful swirls of red and blue food coloring that give you all the patriotic feels. Top them off with extra Oreos, sprinkles, or even a drizzle of white chocolate, and you’ve got yourself a Fourth-worthy dessert that’s equal parts cool and craveable.
Whether you’re feeding a crowd at a cookout, bringing something sweet to a backyard fireworks bash, or just making a batch for your family to devour in secret (no shame), these cheesecake bars deliver. No baking. No stress. Just creamy, crunchy, celebratory deliciousness.
Why You’ll Love These No Bake Fireworks Oreo Cheesecake Bars
- Zero baking required: Keep your kitchen cool.
- Patriotic colors: Red, white, and blue swirls make them holiday-ready.
- Make ahead magic: Chill, slice, and serve when ready.
- Kid and crowd approved: Everyone loves Oreos and cheesecake—no exceptions.
- Easy to customize: Change the colors, add toppings, or switch the crust.
Ingredients
For the Oreo Crust:
- 24 Fireworks Oreos (or regular Oreos with popping candy)
- 5 tablespoons unsalted butter, melted
For the Cheesecake Layer:
- 16 oz (2 blocks) cream cheese, softened
- 3/4 cup granulated sugar
- 2 teaspoons vanilla extract
- 1 tablespoon lemon juice (optional for brightness)
- 1 1/4 cups heavy whipping cream (or whipped topping like Cool Whip)
- Red and blue food coloring (gel works best)
Optional Toppings:
- Crushed Fireworks Oreos
- Red, white, and blue sprinkles
- Melted white chocolate drizzle
- Whipped cream or star-shaped candies

Instructions/Method
Step 1: Prepare the Crust
- Line an 8×8 or 9×9 inch pan with parchment paper.
- Add Oreos to a food processor and pulse into fine crumbs.
- Stir in melted butter until combined.
- Press the crumb mixture firmly into the bottom of the pan. Use a flat-bottomed glass to smooth.
- Chill in the fridge or freezer while making the filling.
Step 2: Make the Cheesecake Filling
- In a large bowl, beat softened cream cheese until smooth.
- Add sugar, vanilla extract, and lemon juice. Beat until creamy and lump-free.
- In a separate bowl, whip heavy cream until stiff peaks form (or fold in whipped topping).
- Gently fold the whipped cream into the cream cheese mixture until fully combined.
Step 3: Create the Swirls
- Divide the cheesecake mixture into three parts.
- Leave one plain (white), color one red, and the other blue using gel food coloring.
- Spoon dollops of each color over the chilled crust, alternating.
- Gently swirl with a knife or toothpick—don’t overmix or the colors will muddy.
Step 4: Chill and Serve
- Cover and chill for at least 4 hours or overnight until firm.
- Slice into bars using a sharp knife wiped clean between cuts.
- Garnish with crushed Oreos, sprinkles, or melted white chocolate.
Tips & Variations
Tips
- Use gel food coloring: Brighter colors without adding too much liquid.
- Chill long enough: Bars need time to firm—4+ hours minimum, overnight preferred.
- Line the pan: Parchment paper makes removal and slicing way easier.
- Don’t over-swirl: A few figure-eights are all you need for perfect marble patterns.
Variations
- Change the colors: Try pink, teal, or gold for other holidays or birthdays.
- Swap Oreos: Use golden Oreos or chocolate cream varieties for different flavor profiles.
- Add fruit: Swirl in a few tablespoons of blueberry or raspberry jam for extra flavor.
- Mini bites: Use mini muffin tins for cheesecake “bombs” that are perfect finger food.
Note
Make sure cream cheese is fully softened before mixing—cold cream cheese leads to lumpy filling.
Serving Suggestions
- Serve chilled: These bars are best cold and firm.
- With drinks: Pair with lemonade, iced coffee, or even a boozy milkshake.
- For parties: Display on a festive platter with flags, napkins, and extra Oreos.
- As leftovers: Keep in the fridge for up to 5 days. Freeze individual slices if needed.
Nutrition Information
Approximate per bar (based on 12 servings):
- Calories: 320
- Fat: 24g
- Carbs: 26g
- Sugar: 18g
- Protein: 4g
Lighten it up by using reduced-fat cream cheese and low-sugar whipped topping.
User Reviews/Comments
“These were the first dessert to disappear at our BBQ—everyone loved the colors and flavor.” – Jamie P., Illinois
“I made them the night before and they were still perfect the next day—no bake is a lifesaver.” – Robyn F., Arizona
“My kids thought the popping candy Oreos were ‘fireworks in their mouths.’ Success.” – Derek L., New York
“Super easy and looked amazing. Definitely adding to my July 4th menu every year.” – Keira J., Georgia
“I used Cool Whip and added crushed Oreos on top—so fun and festive.” – Marc T., California
FAQs
Q: Can I use regular Oreos instead of Fireworks Oreos?
Yes. Fireworks Oreos add fun with the popping candy, but regular or any flavored Oreo will still work. You can add your own Pop Rocks to the filling or topping if you like.
Q: Can I freeze these bars?
Absolutely. Freeze after slicing, and wrap each bar tightly. Let thaw in the fridge for 2–3 hours before serving. They also taste great partially frozen.
Q: How long can I make them in advance?
You can prep these up to 2 days in advance. Just keep them chilled and covered tightly to prevent the colors or texture from degrading.
Q: Can I use store-bought whipped topping instead of heavy cream?
Yes! One 8 oz tub of Cool Whip works as a substitute. Just fold it in gently as you would whipped cream.
Q: What if I don’t have food coloring?
Skip the swirls and just add some red, white, and blue sprinkles on top instead. Still festive, still delicious.
Conclusion
These No Bake Fireworks Oreo Cheesecake Bars are everything a 4th of July dessert should be—festive, foolproof, and outrageously tasty. They’re a stress-free way to impress your guests while keeping your kitchen cool and your table red, white, and blue.
Whether you’re celebrating with a big crowd or just a few close friends, these bars bring color, flavor, and fun to the holiday. If you’re curious about the snack that started it all, you can learn more about Oreo cookies and their legendary variations here.
Print
No Bake Fireworks Oreo Cheesecake Bars for 4th of July
Ingredients
For the Oreo Crust:
-
24 Fireworks Oreos (or regular Oreos with popping candy)
-
5 tablespoons unsalted butter, melted
For the Cheesecake Layer:
-
16 oz (2 blocks) cream cheese, softened
-
3/4 cup granulated sugar
-
2 teaspoons vanilla extract
-
1 tablespoon lemon juice (optional for brightness)
-
1 1/4 cups heavy whipping cream (or whipped topping like Cool Whip)
-
Red and blue food coloring (gel works best)
Optional Toppings:
-
Crushed Fireworks Oreos
-
Red, white, and blue sprinkles
-
Melted white chocolate drizzle
-
Whipped cream or star-shaped candies
Instructions
Step 1: Prepare the Crust
-
Line an 8×8 or 9×9 inch pan with parchment paper.
-
Add Oreos to a food processor and pulse into fine crumbs.
-
Stir in melted butter until combined.
-
Press the crumb mixture firmly into the bottom of the pan. Use a flat-bottomed glass to smooth.
-
Chill in the fridge or freezer while making the filling.
Step 2: Make the Cheesecake Filling
-
In a large bowl, beat softened cream cheese until smooth.
-
Add sugar, vanilla extract, and lemon juice. Beat until creamy and lump-free.
-
In a separate bowl, whip heavy cream until stiff peaks form (or fold in whipped topping).
-
Gently fold the whipped cream into the cream cheese mixture until fully combined.
Step 3: Create the Swirls
-
Divide the cheesecake mixture into three parts.
-
Leave one plain (white), color one red, and the other blue using gel food coloring.
-
Spoon dollops of each color over the chilled crust, alternating.
-
Gently swirl with a knife or toothpick—don’t overmix or the colors will muddy.
Step 4: Chill and Serve
-
Cover and chill for at least 4 hours or overnight until firm.
-
Slice into bars using a sharp knife wiped clean between cuts.
-
Garnish with crushed Oreos, sprinkles, or melted white chocolate.
Notes
Use gel food coloring: Brighter colors without adding too much liquid.
Chill long enough: Bars need time to firm—4+ hours minimum, overnight preferred.
Line the pan: Parchment paper makes removal and slicing way easier.
Don’t over-swirl: A few figure-eights are all you need for perfect marble patterns.