Table of Contents
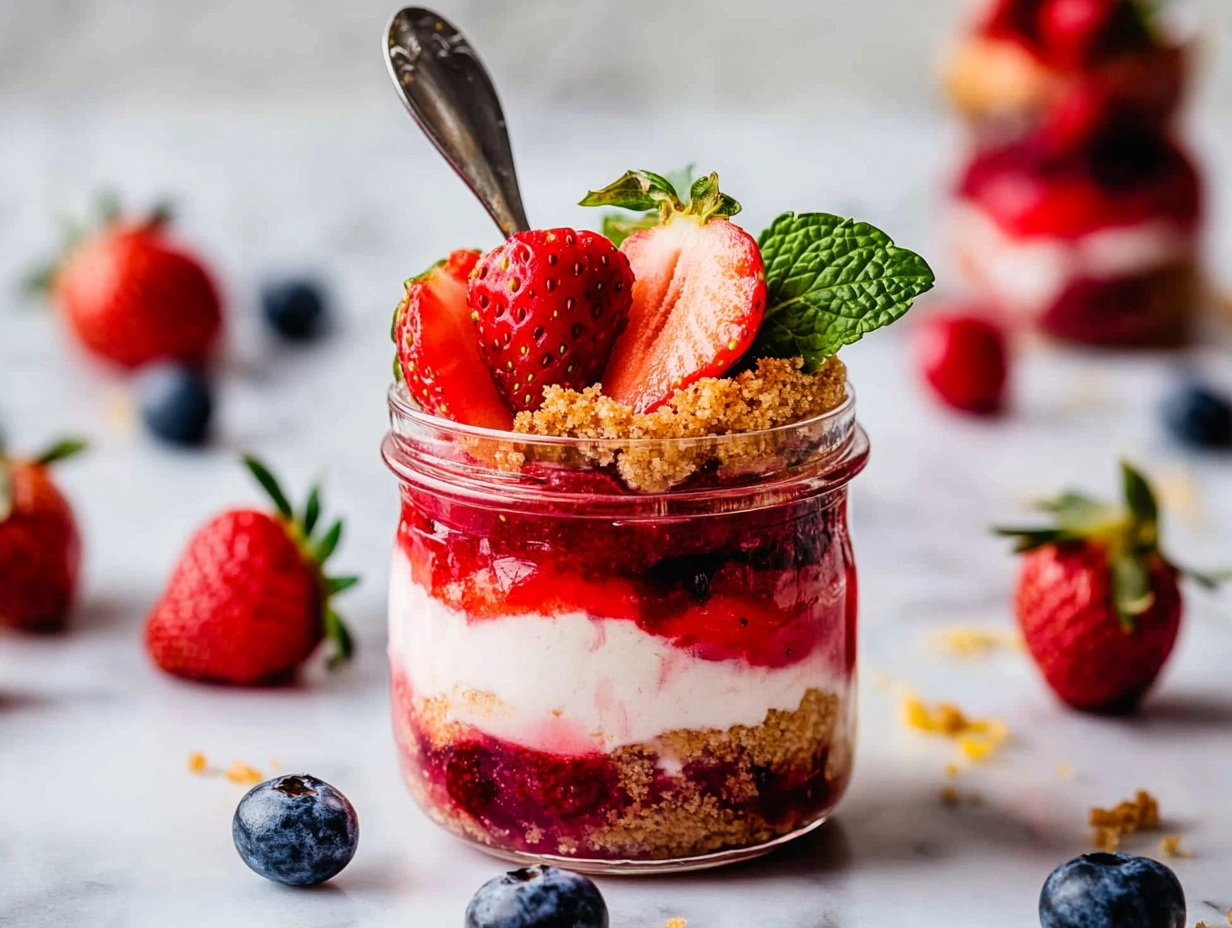
When summer heat rolls in and you’re craving something sweet, rich, and satisfying—but the thought of turning on the oven makes you melt—these No-Bake Cheesecake Jars come to the rescue. I first made them for a backyard brunch, and they disappeared faster than the lemonade. Chilled, creamy, and perfectly portioned, they’re the kind of dessert that looks like a fancy patisserie treat but takes just minutes to assemble.
Let me show you why you’ll want these in your summer dessert rotation.
Why You’ll Love These No-Bake Cheesecake Jars
These no-bake cheesecake jars are:
- ❄️ Perfectly chilled for summer – refreshing and cool
- 🥄 Individually portioned – ideal for picnics, BBQs, or date night
- ⏱ Quick and easy – no oven, no water baths, no stress
- 🍓 Customizable – top them with fresh fruit, jam, chocolate, or nuts
- 🎉 Make-ahead friendly – even better after a few hours in the fridge
Ingredients You’ll Need (Makes 4 Jars)
For the crust:
- 1 cup graham cracker crumbs (about 8 whole crackers)
- 2 tablespoons granulated sugar
- 4 tablespoons unsalted butter, melted
For the cheesecake filling:
- 8 oz cream cheese, softened
- 1/3 cup granulated sugar
- 1 teaspoon pure vanilla extract
- 1/2 cup heavy whipping cream (cold)
For the topping:
- 1/2 cup fruit preserves, jam, or fresh fruit (berries, mango, cherries)
- Optional: mint leaves, chocolate shavings, or crushed nuts for garnish
Equipment:
- 4 small glass jars or ramekins (6–8 oz size)
- Electric mixer (hand or stand)
- Spatula and piping bag (optional for clean layers)
Step-by-Step Instructions
1. Make the Crust
In a small bowl, combine graham cracker crumbs and sugar. Pour in the melted butter and stir until the texture resembles wet sand. Spoon about 2 tablespoons into the bottom of each jar and press gently with a spoon to create a firm base. Place in the fridge while you prepare the filling.
2. Whip the Cream
In a clean bowl, whip the cold heavy cream to soft peaks using an electric mixer. Set aside.
3. Prepare the Cheesecake Filling
In another bowl, beat the cream cheese until smooth. Add sugar and vanilla extract and mix until well combined and fluffy. Gently fold in the whipped cream using a spatula until the mixture is light and airy.
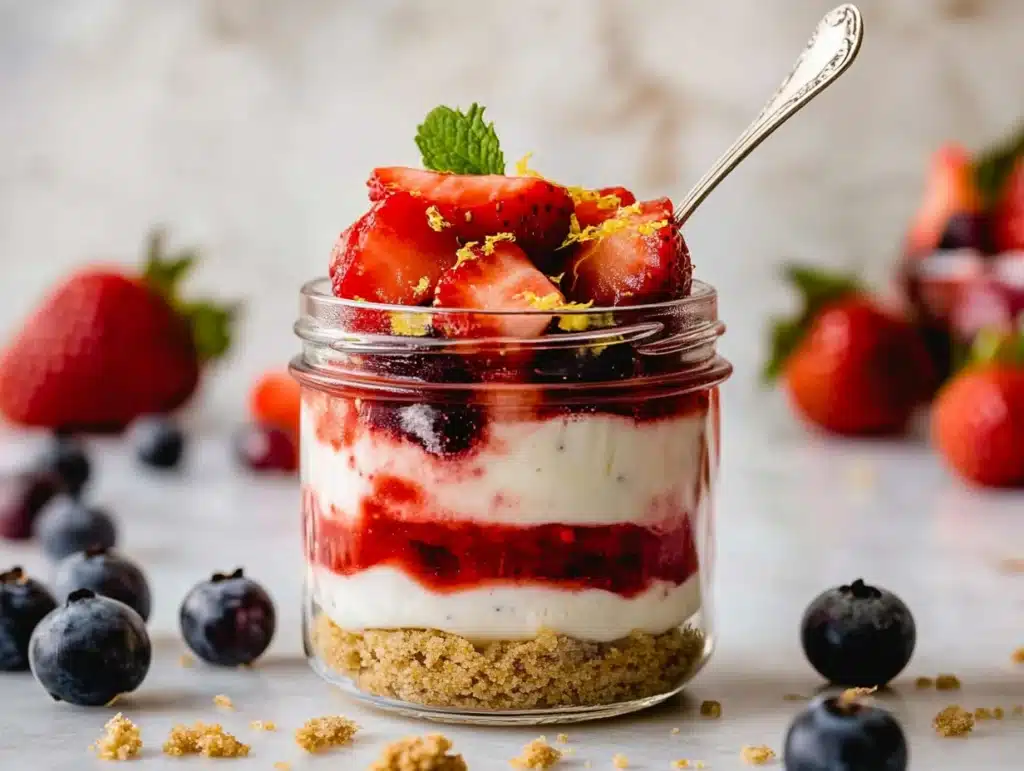
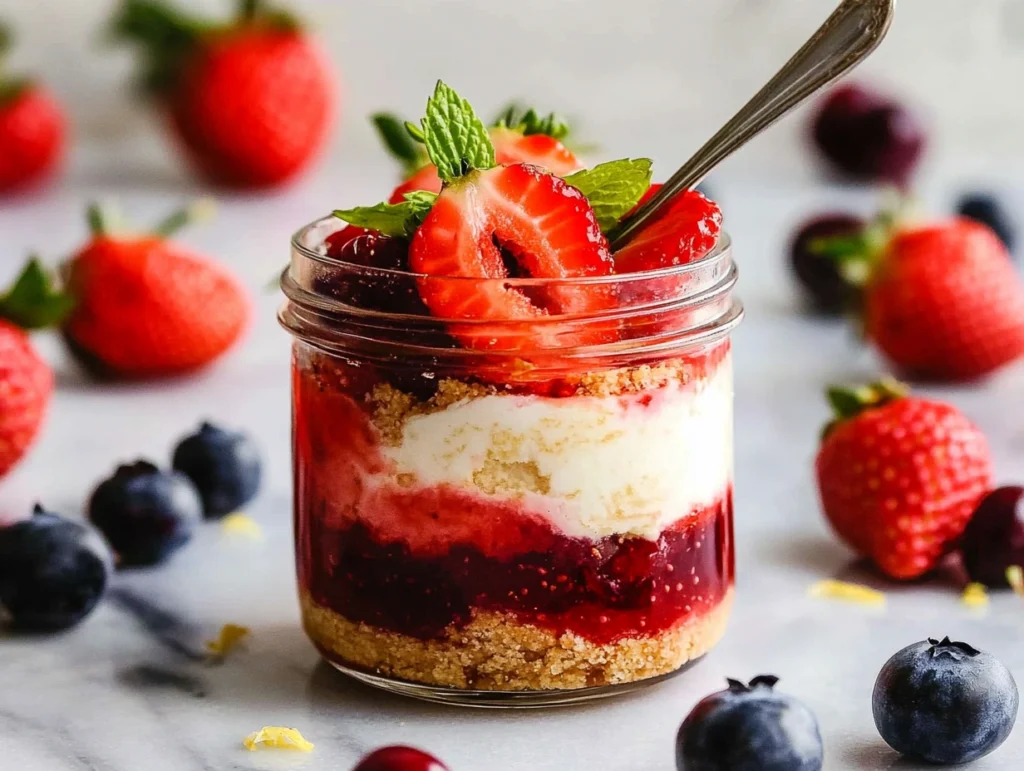
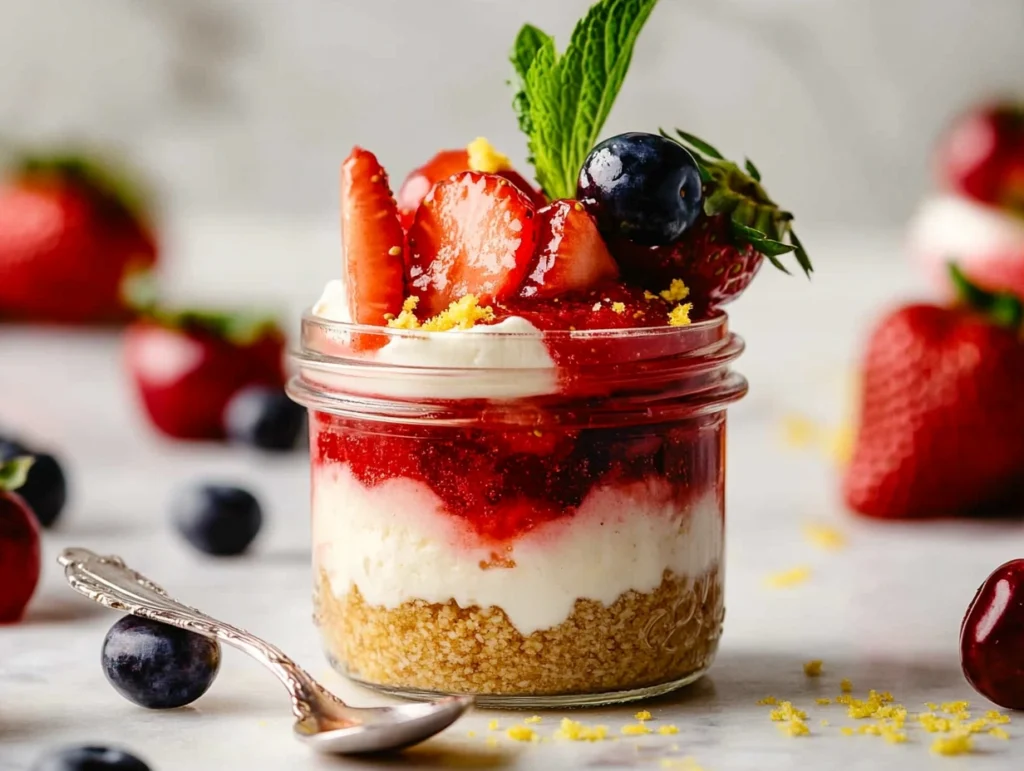
4. Assemble the Jars
Spoon or pipe the cheesecake filling over the crust in each jar. Smooth the tops.
Add 2–3 teaspoons of fruit topping over each jar. Swirl lightly or leave as a clean layer.
5. Chill
Cover jars with lids or plastic wrap and refrigerate for at least 2 hours (or overnight) to set. The longer they chill, the better the flavor and texture.
6. Garnish and Serve
Top with fresh fruit, mint, or a sprinkle of crushed nuts just before serving. Serve chilled with a spoon and a smile!
Tips for Perfect No-Bake Cheesecake Jars
- Use full-fat cream cheese for best texture.
- Chill the cream and beaters before whipping for quicker, fluffier peaks.
- Avoid overmixing when folding in whipped cream to keep the filling airy.
- Don’t skip chilling time—it helps the dessert firm up and enhances flavor.
- Add lemon zest to the filling for a fresh citrus twist.
Variations & Substitutions
This base recipe is incredibly versatile. Here are some easy ways to make it your own:
- Lemon Cheesecake Jars: Add 1 tablespoon lemon juice + zest to the filling.
- Chocolate Cheesecake Jars: Mix 2 tablespoons cocoa powder into the cream cheese layer and top with ganache.
- Nutty crust: Swap graham crackers for crushed Biscoff cookies, Oreos, or even granola.
- Vegan version: Use dairy-free cream cheese and coconut whipped topping, plus crushed vegan cookies for the base.
Make-Ahead & Storage Tips
- Make-ahead: Assemble up to 2 days in advance. Store covered in the fridge.
- Storage: Keep refrigerated for up to 4 days. Do not freeze once assembled.
- Topping tip: Add delicate fresh fruit just before serving to keep it looking fresh.
Serving Suggestions
These No-Bake Cheesecake Jars are:
- Perfect for BBQs, baby showers, bridal brunches
- Great picnic treats—just screw on the jar lids
- Elegant enough for date night desserts
- Kid-friendly and easy to make together
Serve alongside iced tea, sangria, or sparkling lemonade for a complete summer vibe.
FAQs
Can I make these ahead of time?
Yes! In fact, they taste better after a few hours in the fridge.
Can I double the recipe?
Absolutely. Just scale up each ingredient proportionally and use more jars.
What jars are best?
Use any 6 to 8 oz glass jars with wide mouths. Mason jars, Weck jars, or even small drinking glasses work well.
Can I use store-bought whipped topping?
You can! Use 1 cup of Cool Whip or another whipped topping in place of whipped cream.
Conclusion
These No-Bake Cheesecake Jars bring together the best of dessert-making: minimal effort, maximum flavor, and presentation that turns heads. Whether you’re planning a summer garden party, packing a picnic, or just craving something sweet and creamy, this dessert delivers every time.
Cool, customizable, and perfectly portioned, this recipe will be your go-to for sunny days and sweet cravings. If you try these, I’d love to see how you topped yours—tag me on social or leave a comment below!
Print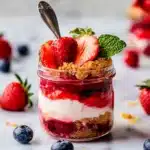
No-Bake Cheesecake Jars – A Cool, Creamy Summer Delight
Ingredients
For the crust:
-
1 cup graham cracker crumbs (about 8 whole crackers)
-
2 tablespoons granulated sugar
-
4 tablespoons unsalted butter, melted
For the cheesecake filling:
-
8 oz cream cheese, softened
-
1/3 cup granulated sugar
-
1 teaspoon pure vanilla extract
-
1/2 cup heavy whipping cream (cold)
For the topping:
-
1/2 cup fruit preserves, jam, or fresh fruit (berries, mango, cherries)
-
Optional: mint leaves, chocolate shavings, or crushed nuts for garnish
Equipment:
-
4 small glass jars or ramekins (6–8 oz size)
-
Electric mixer (hand or stand)
-
Spatula and piping bag (optional for clean layers)
Instructions
In a small bowl, combine graham cracker crumbs and sugar. Pour in the melted butter and stir until the texture resembles wet sand. Spoon about 2 tablespoons into the bottom of each jar and press gently with a spoon to create a firm base. Place in the fridge while you prepare the filling.
In a clean bowl, whip the cold heavy cream to soft peaks using an electric mixer. Set aside.
In another bowl, beat the cream cheese until smooth. Add sugar and vanilla extract and mix until well combined and fluffy. Gently fold in the whipped cream using a spatula until the mixture is light and airy.
Spoon or pipe the cheesecake filling over the crust in each jar. Smooth the tops.
Add 2–3 teaspoons of fruit topping over each jar. Swirl lightly or leave as a clean layer.
Cover jars with lids or plastic wrap and refrigerate for at least 2 hours (or overnight) to set. The longer they chill, the better the flavor and texture.
Top with fresh fruit, mint, or a sprinkle of crushed nuts just before serving. Serve chilled with a spoon and a smile!